Traveling Bone Broth

This season a lot of us are spending time on the road or in airports - for some of us, living on diner and airline food for even a day isn't an option. I personally do best when I consume bone broth every day, but I was a bit stumped as to how I was going to do that while away from home, traveling by air, and staying in accommodations without a refrigerator, for four days. I think I've figured it out.


Look at this beautiful photo:


It's not the photography that makes me feel all warm and tingly, it's the fact that what you see inside that jar is pure bone broth - about 18 cups worth, give or take a few.

To create your own bone broth powder, start with strained and defatted broth prepared according to the Nourishing Traditions recipe or which ever method works best for you. Season the pot of broth as you like. When you have the broth flavored the way you prefer, strain it through a rather fine strainer to get all the bits of herbs, etc. out. (If you aren't as picky as me, you could certainly skip this step but there's just something so gorgeous about a bowl of clear broth...)

Keep the broth at a lively simmer until all the water is nearly gone - when it becomes thick and starts to make splattery sounds, watch it closely. I like to let it brown slightly, it adds a nice rich flavor. When it has reduced as far as it can without burning, pour it out onto parchment paper (cut to fit your dehydrator and laid out on the trays). Make sure you have prepared the paper ahead of time, because the thickened broth will start to harden on the sides of the pan and become difficult to scrape out if you allow it to cool too much.

Spread the broth out as thinly as you can on the parchment, areas that are too thick will remain leathery. Dehydrate it at 150 at least overnight - you can't overdo it with this, the drier the better.

When the broth is completely dry and brittle, it is done. Allow it to cool, then break it into pieces and pulverize it to a powder in a blender. I'm guessing a food processor would work just fine, and if you are off the grid or have kids who need to burn off some energy, you can use a slap-chop type chopper - I tried my Pampered Chef chopper and it didn't quite get it to a fine powder, but much better than breaking it up by hand.

To use the broth powder, add it to boiling hot water and stir til dissolved. The larger your chunks, the longer it will take. How much powder per cup of water? That's up to you, I suggest starting with a quarter teaspoon and adding another quarter as needed til you get the strength you want. Once you know how much per cup you like, label the container with the measurement for future reference.

So now your broth won't freak out the TSA or the airport police or add a hundred pounds to your cooler. It's now portable, lightweight, and requires no refrigeration, how cool is that!

coming up in my next post - a raw milk treat to bring on your trip, that you can carry in your purse or pocket.

Strawberry Yogurt Taffy

My kids love this recipe because to them, it's candy. To me, it's the joy of giving them a treat, minus the tense pause when mom reads the label and gives the thumbs up or thumbs down. It's also the only way I know to take raw milk with me on an airplane! Being able to bring decent food for my family when we travel is really important to me, so this recipe is a go-to for any trip.

This recipe is the healthiest with fresh milk that you culture yourself - but if you can't get raw milk, any whole milk organic yogurt can be substituted. I'm not going to go through the process of making raw milk yogurt in this post, it's pretty simple - a jar, some starter yogurt and a source of warmth are all you need, no fancy yogurt-maker required. There are a lot of ways to do it, if you need help feel free to ask - I can always put up a post on making yogurt with raw milk later.

For the yogurt taffy, mix your plain raw yogurt with a jam or fruit sauce of your choice - we used an organic strawberry this time but the kids also like peach. Use a little less than you would if you were going to eat it out of the bowl, the dehydration concentrates the sweetness.


Spread the mixture out on parchment paper cut to fit your dehydrator. Keep it thick enough that there are no thin areas where the paper shows through.


I set my dehydrator at about 120F for this batch of thick yogurt, but for thinner yogurt, 95F has worked fine. If it's important to you that the milk remain raw, use thinner (undrained) yogurt and keep the temp low. When it is all "leathery" and will peel smoothly off the paper, it is done. I like to roll the paper & yogurt up together and cut with scissors into segments. Then the kids get to peel strips off just like the commercial fruit roll-ups.


These yogurt taffy "roll-ups" were a great travel snack during our trip to the midwest to visit family. They survived well in both the carry-on and the big suitcase we entrusted to the airline, I made enough for the whole trip and a few even made it home. They are excellent for including in my second grader's lunchbox too! I got four sandwich-baggies full of roll-ups from two quarts of yogurt. In such a concentrated state, the yogurt is more filling than typical candy and I have never had my kids ask for more than two. If you make this let me know how it turned out, and I'd be happy to help if you have any questions about the process.

A Little Progress... and a Sharpie trick

Have you ever had the feeling you are on a treadmill, that just getting one tiny thing accomplished takes way too much effort? Sewing was like that yesterday and I barely made any progress on the Imke hoodie. Today went better though - I completed the bodice & sleeves, put on ribbon embellishment and a decorative patch and hemmed the sleeves & bodice. Now all that's left is to decide if I will line the hood or not, and get it attached.

Once that was finished, I felt like doing something different so I made a pair of mittens from a tutorial I found at Five Green Acres. I used leftover pieces of an old sweatshirt and skipped the lining, what I was really after was to check the sizing. I made it in the Child Med size and it was a bit too long and wide in the finger area so I trimmed it down a bit. My boy-child was not here to try them on so I guessed, if they don't fit I am sure there's someone to give them to. The exciting part wasn't the mittens, though. I had a page of iron on transfer paper on which I'd printed out the image for the hoodie. I thought there must be some way to use the rest of the sheet, which having been cut, could no longer be printed on. So I tried making some simple stripes on the mittens by using a Sharpie marker directly on the transfer sheet, then ironing it on. Maybe I'm the last to know, but it works! I'm now in the market for a full set of Sharpie markers with all those great colors, and surfing the web for more image transferring tricks.


Sewing Imke - Girly Version


After sewing several hoodies from the Lil Blue Boo pattern, I'm finally working on one from Farbenmix out of the book I have (Sewing Clothes Kids Love) as a gift for a niece. I just love the bright knits and fun embellishments they show in the book - but my selection of knits locally was rather limited. I came up with a loose collection of stripes, dots and cherries for this one. It seems like planning and carrying out the embellishments takes as much time as sewing the entire garment! But what a fun way to spend your time.

No School Day


After waking up at the usual early weekday hour and getting into the morning routine, we realized Ooops! No school today! Fortunately it's a gorgeous day outside, clear amber sunshine and crisp blue sky. So what do the kids want to do? They want to play... School.

So we had Art Time


a nature walk...
taking a look at what's edible on the cattails this season...


pondering mushrooms...
and wondering at these blackberries, way too late in the year to ever ripen

portrait with a gorgeous old oak...


a little tree climbing...


And every school has to have recess (this school allows rollerblades)


A skinned knee or two didn't stop the frolicking...


The weather is finally cool enough for my daughter to consent to wearing the hat I made her - I used this great tutorial from Cheri at I Am Momma - Hear Me Roar. Sure, she called'em Boy Hats but they translate perfectly into girly cuteness too!

Once we'd worked up an appetite with all the exercise, we were ready to tuck in to some grub - luckily this school makes their chilimac with grassfed beef and sprouted beans, so we could be like the cool kids and have Hot Lunch today!

So what was the point of this whole post, all these (probably really slow to load) pictures... well some days it's so hard to get up the motivation to just Do Things... it would be so much easier to plant the kids in front of another episode of Max & Ruby ... I know! So I'm hoping this little story of our day might help the next time you feel out of steam and out of ideas. I'll probably have to read it over myself, cuz those Totally Fed Up And Frazzled With Cabin Fever winter days are coming up (winter break, anyone?).

Coffee Cozy Crazy

I have few coffee drinkers on my Christmas list, so I'm busy making several sets of these. After perusing the various tutorials Google suggested, and trying a prototype, I decided to go with the tutorial offered by Erin at House on Hill Road. Here's one of the results - pretty cute, I think. Almost makes me wish I still drank coffee!


Dortje Completed


I like how they turned out, but let's just say next time I make them I don't think I'll be doing the pieced leg option. Placing ruffles into curved seams is apparently not my forte. I am excited that I learned to make the slash pockets, it was so easy, and the faux fly was new to me too. Two changes I'll have to make next time are to place the back pockets higher and add two inches to the length; the fit in the waist was perfect but the pant legs were a bit high-water on my daughter so I added that extra piece in pink fabric at the bottom. I used a flannel plaid in green, pink and white for the waistband and I think it will be more comfortable to wear, it's super soft.


At first she nearly refused to wear them because they weren't completely pink... but I think once she had them on, she was pretty happy. And that makes me happy too. :)

Sweet Little Knee Patches

Two blown out knees on a pair of otherwise perfectly usable jeans - unacceptable!! Here I took a few scraps of cotton fabric, and sewed the shapes to each other in layers. After attaching each square to the previous one by going around the perimeter, I ran the sewing machine back and forth randomly over the whole patch in pink thread, then applied fusible web to the back. I ironed the patches onto the knees and then with embroidery floss, ran a row of rustic stitches around each patch. Sorry about the photo, I guess the light in the barn wasn't so great!

Sewing Dortje

Started a new pattern today, Farbenmix's adorable trouser "Dortje". This pattern can be found in the book Sewing Clothes Kids Love, as well as individually on the Farbenmix site. This being my first attempt at both using a "real" pattern, and making pants from woven fabric rather than knit, of course I bypassed all the simple options for the pattern and dove into the pieced option with cute gathers on the lower leg.


So far I have the front and back pockets completed. The color theme is basically pink and brown. I have some embellishments in pink to use along the way; for my daughter, the more pink, the better!

Starting this project represents a break from my favorite pattern lately, the easy hoodie pattern at Lil Blue Boo. I whipped one up in purple and pink Sunday morning for my daughter to wear at the kid's afternoon with Grandma. But it's time to make some progress on other things, this has been cut and waiting for a few weeks, and I have a whole list of Christmas presents to make as well. What are you sewing this week?

Shoe Re-do

On a recent trip to a local second hand store, I found a like-new pair of shoes in my daughter's size. Problem was, they were boy's shoes. But at a dollar, I couldn't pass them up; I knew we'd figure it out. When we got home, sure enough she refused to wear them. When asked what was wrong, she made it clear that if they weren't pink, she wasn't interested. So mom had to get a little creative. A permanent marker and some steam-a-seam did the trick. I covered the orange and black stripes on the tongue and one of the velcro straps with fabric, and colored the toe, second strap and heel piece in bright pink ink. Now she loves wearing her new shoes. This post is linked up at House of Hepworths!


Upcycled Hoodie

This week I made my third hoodie from the Lil Blue Boo pattern, a size 5 for my seven year old. I think this is my best one yet, I'm feeling more confident with this pattern. This hoodie was made from thrifted items and inspired by a hoodie I saw at a trendy kid's boutique online.
This was the first time I lined the hood, and I like it a lot better that way. I left the bottom edge raw with just a couple parallel lines of stitching. The hood binding and the flannel pocket both have "rag" edging detail. The plaid shirt I used had an interesting label on the inside, so I utilized that as a patch embellishment on one sleeve. All in all, I'm pretty pleased with it and my boy loves it so I call this one a complete success!

Boo to you, too


A simple Halloween banner for your door or window. Easy to do, probably doesn't need a detailed tutorial but I thought I'd post some pics and description of the process just to get you started. :)

For the impatient, here's a quick summary: cut paper, draw letters, paint, glue, voila.

First choose your word for the banner - the word will determine the length of the banner. Choose a Halloween - ish font. I printed our letters out at about a size 500 font - the exact number isn't critical, just enlarge the font enough that each letter fills one page.


For the main part of the banner, I used some kraft paper packaging that came in an Amazon box the other day. It was already pretty wrinkled, so I decided to go with that. I tore off a piece about 1' wide by 3' long. I wrinkled it all up really tightly then spread it back out and with a dry iron on cotton setting, pressed it flat. It was rather fun to be ironing wrinkles into something for a change! Probably that isn't a recommend use of my iron. Certainly I risked burning down the house if one of my delightful offspring started bleeding or puking and distracted me - I am sure you can figure out your own nice, safe way to flatten wrinkled paper. ;)

Trace the letters onto the banner, fill in using marker or whatever you prefer. I contemplated creating a stencil but decided against spending the time on that and just scribbled it in with one of the kids' markers.

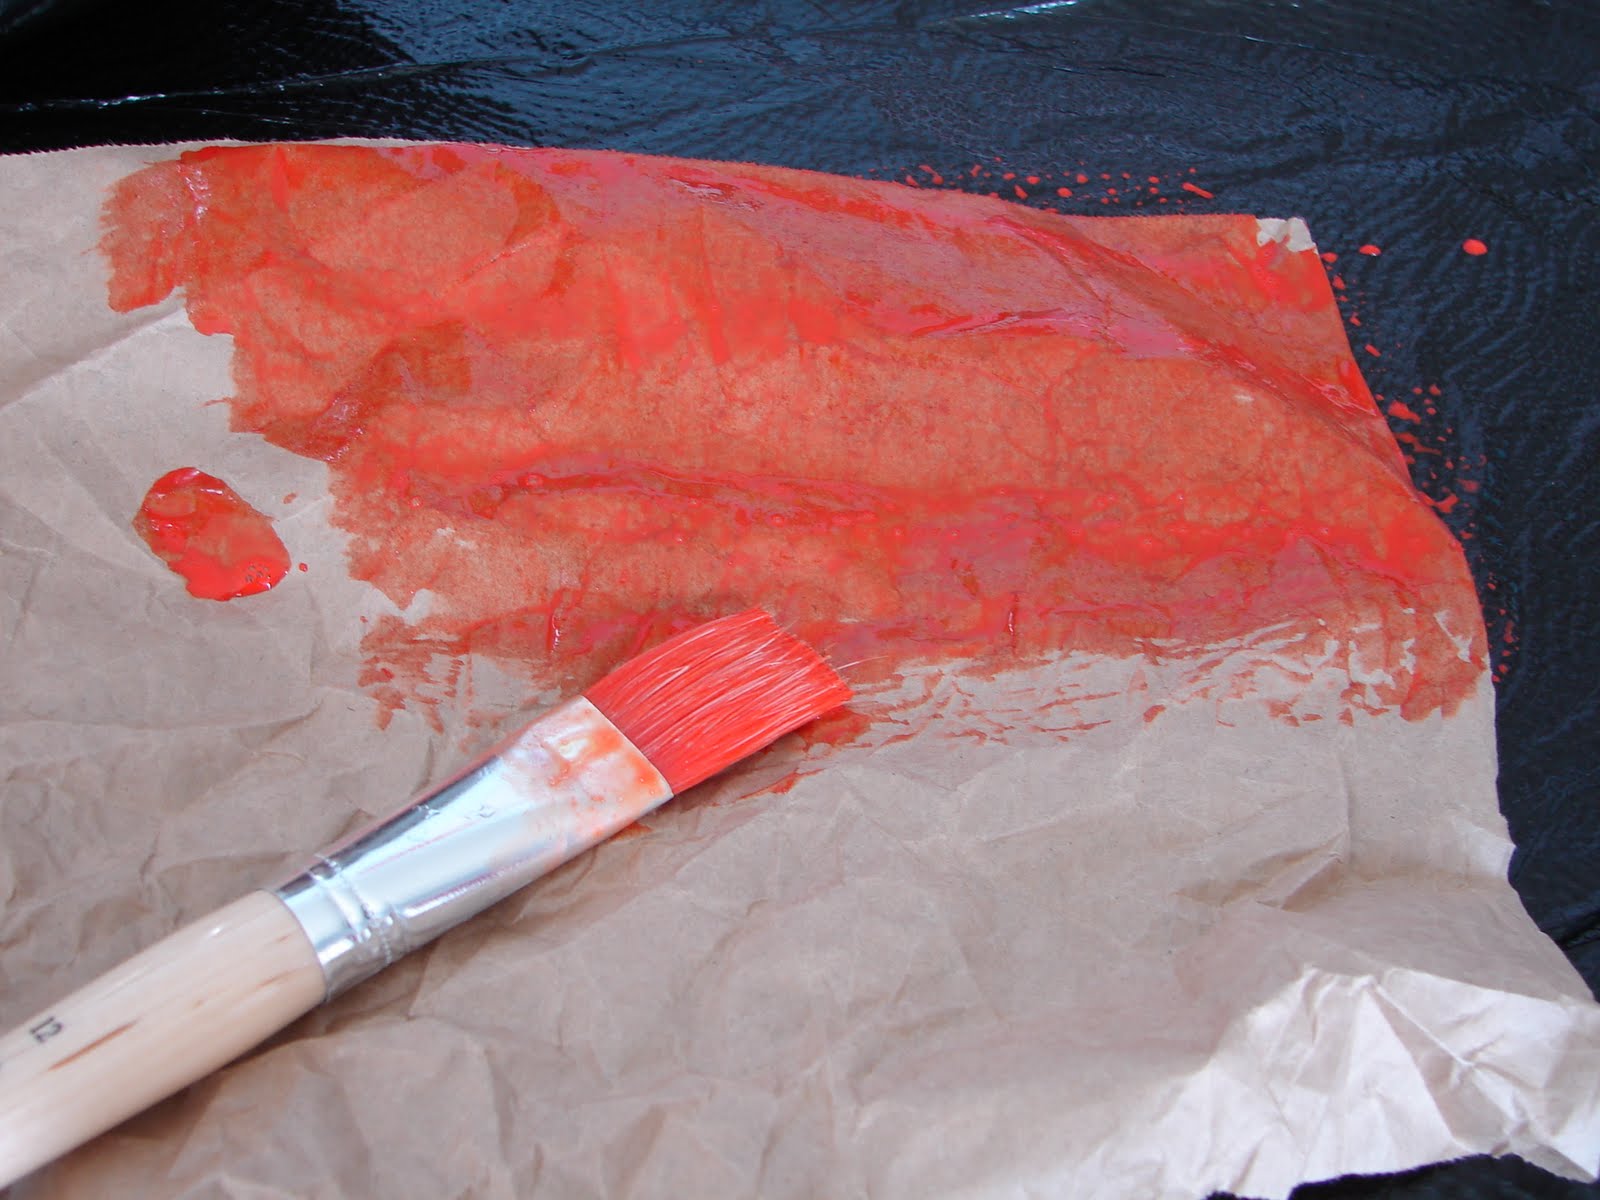
Once the main banner piece was pressed and lettered, I tore off another section of kraft paper the same width and about 8" long. I painted it with a tempera paint that I had thinned with water, I wanted a stained look rather than a matte coating.


I crumpled the paper and let it dry awhile


Then I flattened it into a wrinkled mass with my iron to crease and dry it further.


After the paper is completely dry, gently open it up and press it flat to its full size again. Then to create a top and bottom border, cut from it two four inch wide pieces the width of the banner. Fold the top and bottom edges of one (not both) piece as if you were creating a hem. Press the "hem" flat and glue one edge to the top of the banner. You could just glue it on with the edges unfolded if you prefer.


To create a handle for hanging the banner, take two strips of kraft paper one foot long by one inch wide and twist them together except for one inch at each end. Glue the untwisted ends down to the back of the top edge of the banner.


On the other piece of border, fold one edge and leave the other. Cut into the border piece on the unfolded side to make a fringe. Then glue the folded edge onto the bottom of the banner.


Now that I have successfully made this sound forty times more complicated than it actually is, maybe you'll just go to the dollar store and pick up something. Either way, have fun!