
A simple Halloween banner for your door or window. Easy to do, probably doesn't need a detailed tutorial but I thought I'd post some pics and description of the process just to get you started. :)
For the impatient, here's a quick summary: cut paper, draw letters, paint, glue, voila.
First choose your word for the banner - the word will determine the length of the banner. Choose a Halloween - ish font. I printed our letters out at about a size 500 font - the exact number isn't critical, just enlarge the font enough that each letter fills one page.

For the main part of the banner, I used some kraft paper packaging that came in an Amazon box the other day. It was already pretty wrinkled, so I decided to go with that. I tore off a piece about 1' wide by 3' long. I wrinkled it all up really tightly then spread it back out and with a dry iron on cotton setting, pressed it flat. It was rather fun to be ironing wrinkles into something for a change! Probably that isn't a recommend use of my iron. Certainly I risked burning down the house if one of my delightful offspring started bleeding or puking and distracted me - I am sure you can figure out your own nice, safe way to flatten wrinkled paper. ;)
Trace the letters onto the banner, fill in using marker or whatever you prefer. I contemplated creating a stencil but decided against spending the time on that and just scribbled it in with one of the kids' markers.
Once the main banner piece was pressed and lettered, I tore off another section of kraft paper the same width and about 8" long. I painted it with a tempera paint that I had thinned with water, I wanted a stained look rather than a matte coating.
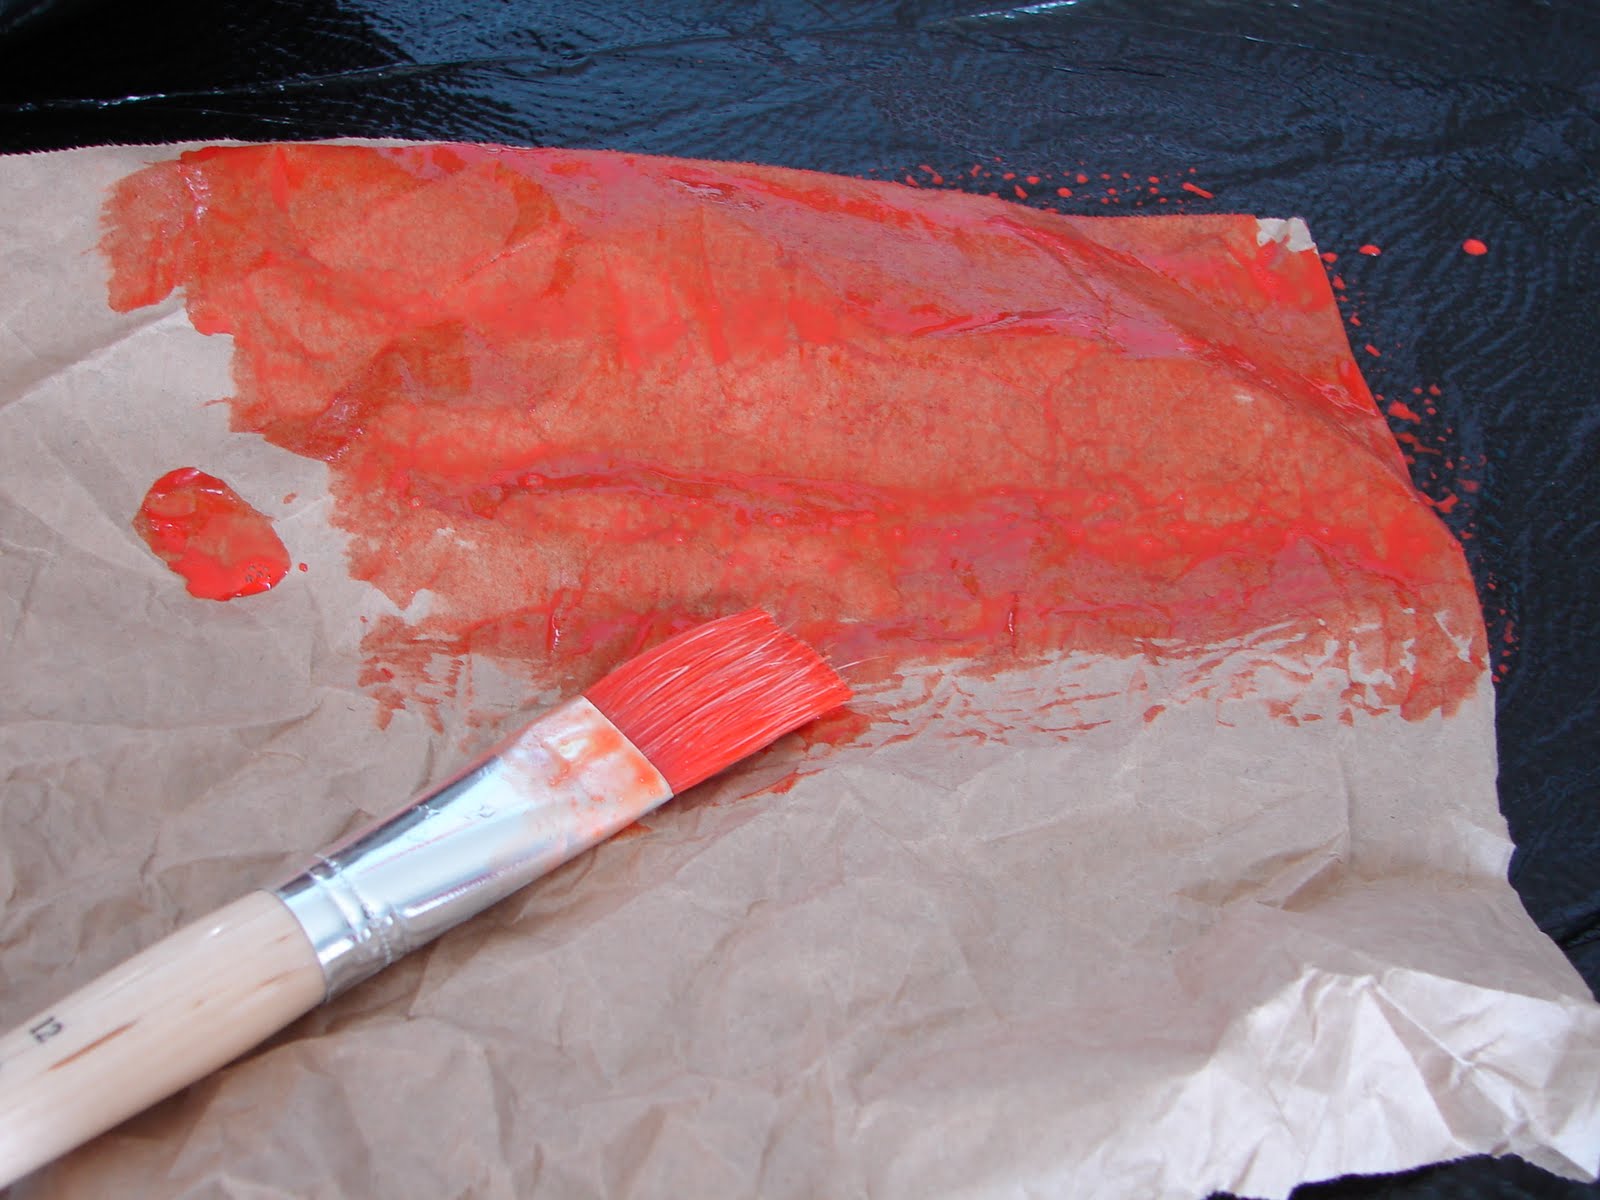
I crumpled the paper and let it dry awhile

Then I flattened it into a wrinkled mass with my iron to crease and dry it further.

After the paper is completely dry, gently open it up and press it flat to its full size again. Then to create a top and bottom border, cut from it two four inch wide pieces the width of the banner. Fold the top and bottom edges of one (not both) piece as if you were creating a hem. Press the "hem" flat and glue one edge to the top of the banner. You could just glue it on with the edges unfolded if you prefer.

To create a handle for hanging the banner, take two strips of kraft paper one foot long by one inch wide and twist them together except for one inch at each end. Glue the untwisted ends down to the back of the top edge of the banner.

On the other piece of border, fold one edge and leave the other. Cut into the border piece on the unfolded side to make a fringe. Then glue the folded edge onto the bottom of the banner.

Now that I have successfully made this sound forty times more complicated than it actually is, maybe you'll just go to the dollar store and pick up something. Either way, have fun!
No comments:
Post a Comment