
Shoe Re-do
On a recent trip to a local second hand store, I found a like-new pair of shoes in my daughter's size. Problem was, they were boy's shoes. But at a dollar, I couldn't pass them up; I knew we'd figure it out. When we got home, sure enough she refused to wear them. When asked what was wrong, she made it clear that if they weren't pink, she wasn't interested. So mom had to get a little creative. A permanent marker and some steam-a-seam did the trick. I covered the orange and black stripes on the tongue and one of the velcro straps with fabric, and colored the toe, second strap and heel piece in bright pink ink. Now she loves wearing her new shoes. This post is linked up at House of Hepworths!

Upcycled Hoodie
This week I made my third hoodie from the Lil Blue Boo pattern, a size 5 for my seven year old. I think this is my best one yet, I'm feeling more confident with this pattern. This hoodie was made from thrifted items and inspired by a hoodie I saw at a trendy kid's boutique online.
 This was the first time I lined the hood, and I like it a lot better that way. I left the bottom edge raw with just a couple parallel lines of stitching. The hood binding and the flannel pocket both have "rag" edging detail. The plaid shirt I used had an interesting label on the inside, so I utilized that as a patch embellishment on one sleeve. All in all, I'm pretty pleased with it and my boy loves it so I call this one a complete success!
 This was the first time I lined the hood, and I like it a lot better that way. I left the bottom edge raw with just a couple parallel lines of stitching. The hood binding and the flannel pocket both have "rag" edging detail. The plaid shirt I used had an interesting label on the inside, so I utilized that as a patch embellishment on one sleeve. All in all, I'm pretty pleased with it and my boy loves it so I call this one a complete success!
Boo to you, too

A simple Halloween banner for your door or window. Easy to do, probably doesn't need a detailed tutorial but I thought I'd post some pics and description of the process just to get you started. :)
For the impatient, here's a quick summary: cut paper, draw letters, paint, glue, voila.
First choose your word for the banner - the word will determine the length of the banner. Choose a Halloween - ish font. I printed our letters out at about a size 500 font - the exact number isn't critical, just enlarge the font enough that each letter fills one page.

For the main part of the banner, I used some kraft paper packaging that came in an Amazon box the other day. It was already pretty wrinkled, so I decided to go with that. I tore off a piece about 1' wide by 3' long. I wrinkled it all up really tightly then spread it back out and with a dry iron on cotton setting, pressed it flat. It was rather fun to be ironing wrinkles into something for a change! Probably that isn't a recommend use of my iron. Certainly I risked burning down the house if one of my delightful offspring started bleeding or puking and distracted me - I am sure you can figure out your own nice, safe way to flatten wrinkled paper. ;)
Trace the letters onto the banner, fill in using marker or whatever you prefer. I contemplated creating a stencil but decided against spending the time on that and just scribbled it in with one of the kids' markers.
Once the main banner piece was pressed and lettered, I tore off another section of kraft paper the same width and about 8" long. I painted it with a tempera paint that I had thinned with water, I wanted a stained look rather than a matte coating.
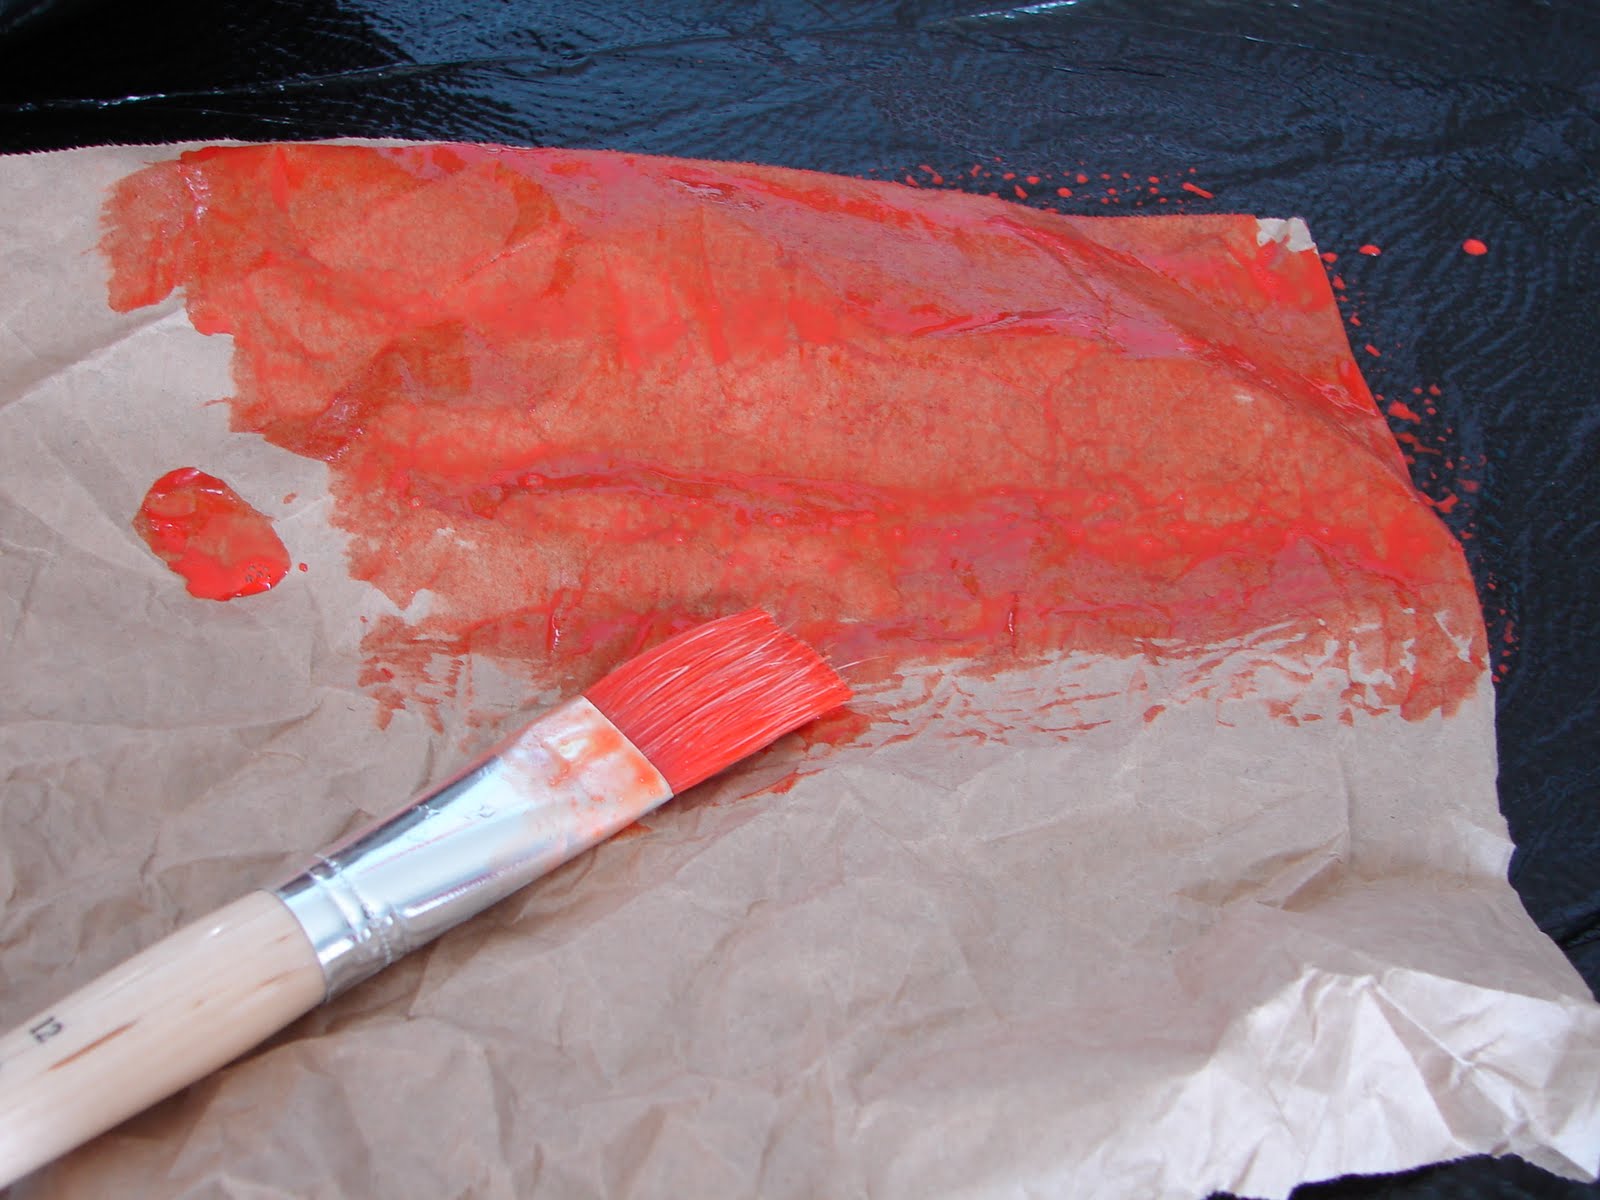
I crumpled the paper and let it dry awhile

Then I flattened it into a wrinkled mass with my iron to crease and dry it further.

After the paper is completely dry, gently open it up and press it flat to its full size again. Then to create a top and bottom border, cut from it two four inch wide pieces the width of the banner. Fold the top and bottom edges of one (not both) piece as if you were creating a hem. Press the "hem" flat and glue one edge to the top of the banner. You could just glue it on with the edges unfolded if you prefer.

To create a handle for hanging the banner, take two strips of kraft paper one foot long by one inch wide and twist them together except for one inch at each end. Glue the untwisted ends down to the back of the top edge of the banner.

On the other piece of border, fold one edge and leave the other. Cut into the border piece on the unfolded side to make a fringe. Then glue the folded edge onto the bottom of the banner.

Now that I have successfully made this sound forty times more complicated than it actually is, maybe you'll just go to the dollar store and pick up something. Either way, have fun!
Owl Beanie
I'm not usually a trend follower, but I finally gave in to the owlish cuteness. I made this owl beanie from the tutorial by Emily at Toad's Treasures, featured here at How Does She? Now if it only weren't 86 degrees outside, my daughter might actually have a chance to wear it!
Differing from the tutorial, I made this out of a light fleece and clipped the eye circles into lashes to give the owl a feminine touch. The dark color is actually purple although the crummy photo doesn't really show it.


She says she likes it, but wouldn't give me a smile til I had her pose with her kitty (who promptly squirmed out of camera range, but at least I caught a little bit of a smile).
Now she says she wants a pink owl softie. I made a brown one last week from Toad's Treasures tutorial...
 but now that she's seen the girly version of the owl concept, brown is out. Oh well, back to the sewing table! Although I think after 3 owly projects, I'm ready for the next thing. Anybody know what the next theme trend will be? I'm voting for jellyfish.
Subscribe to:
Posts (Atom)